


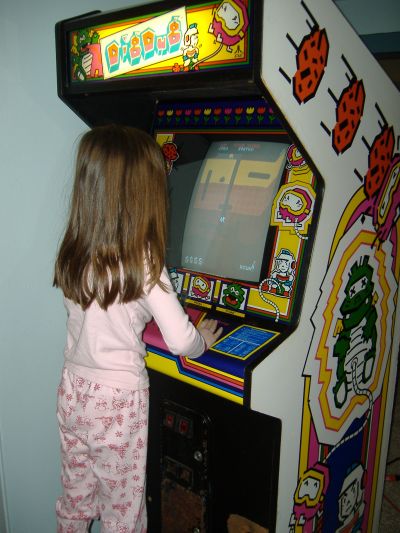
My 6 year old daughter and 8 year old son went on the 2-1/2 hour trip with me down south to Etters, PA to pick up this poor, poor Dig Dug.
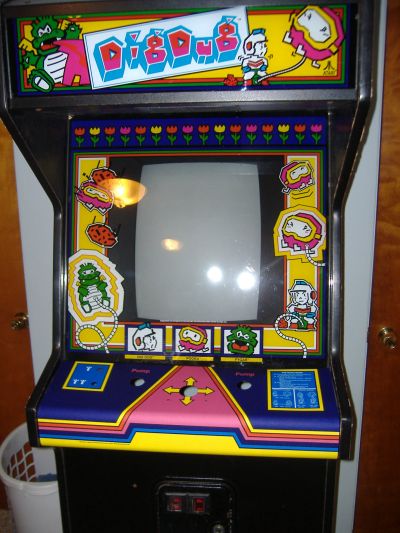
When we got it home it only had a smoked plexi bezel so one of the first things to do was track down and original and at least make it look like a real Dig Dug.
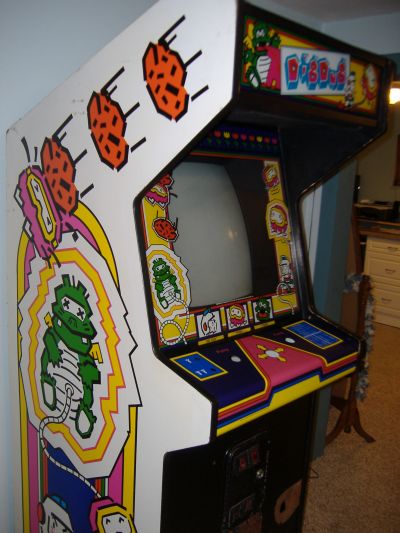
Luckily the sideart cleaned up nicely with some Orange Glow type cleaner and a ton of elbow grease. I'm not positive, but the entire cabinet appeared to have animal urine on it(not only in looks but in smell too).
There was also some water damage to the bottom and most edges of the game. Whatever caused that damage doesn't look to have been happening for very long because it's still in decent shape and the particle board is still solid.
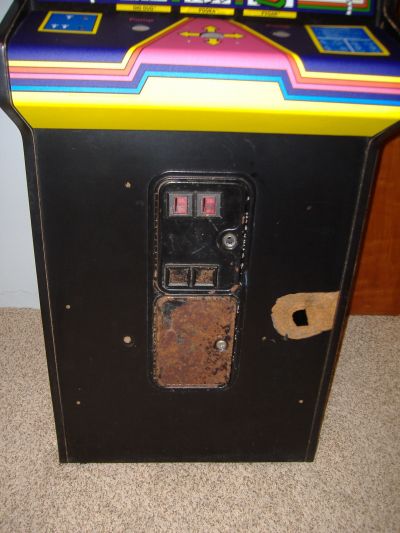
And then there is the damaged front panel and very rusty coin door.
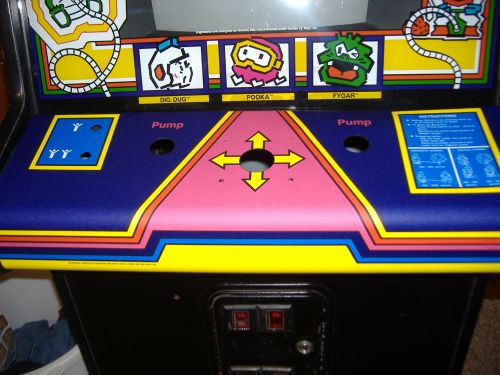
The control panel has already been straightened, stripped, re-painted and a new reproduction overlay applied.
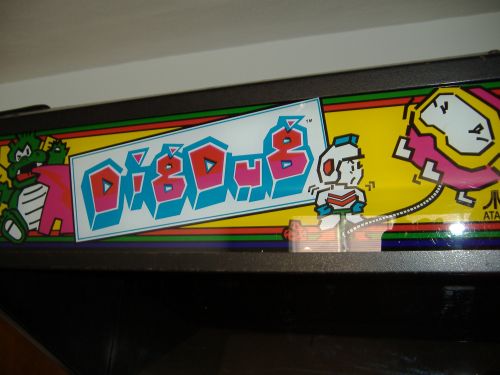
At least the marquee was in good shape to begin with so that only needed a cleaning.

We played for a couple hours today without incident so hopefully that will do it for a while. I still have to fix some tearing on the right side of the monitor though... about 1" to the extreme right tears and while it doesn't really affect play, it's just plain ugly like that.
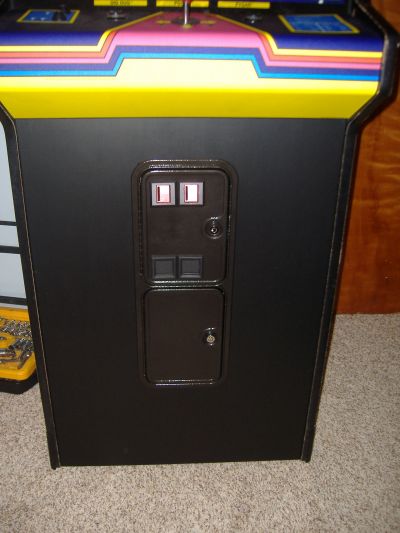
It wasn't as bad as I first thought it would be, but it still was pretty involved. I ended up using 3/4" Birch plywood instead of the particle board originally used just in case someone decides to get rough with it again.
My son helped me sand and paint the panel and it came out great. Foam brushes and sanding in between coats is key to a nice smooth finish.
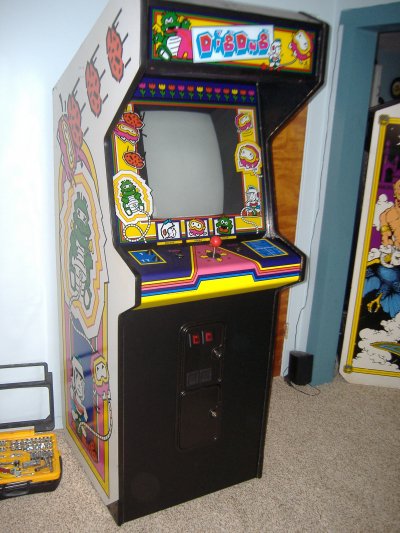
Isn't she a thing of beauty!?!?
(AS OF: 05-06-2009)
- CLEANED EVERYTHING!!!
- Cleaned everything again
- Installed Cap-Kit on Matsushitu TM201G monitor
- Replaced burned resistor and repaired trace on TM201G
- Installed replacement Dig Dug bezel
- Stripped, straightened, and repainted control panel
- Applied reproduction control panel overlay
- Installed Cap-Kit for original power supply
- Replaced 9H/J (2114 RAM)
- Replaced 9M (2016 RAM)
- Installed new "Big Blue" capacitor
- Stripped, straightened, and repainted coin doors
- Replaced joystick grommet
- Replaced damaged front panel
- Not sure...
Last update: 05-06-2009