


|
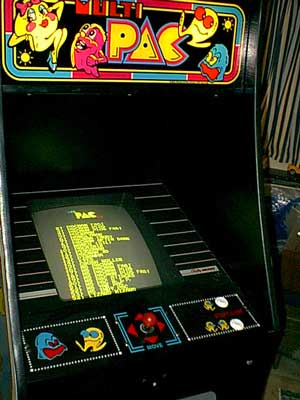
 A picture of my son and the Multi-Pac(taken on Feb. 27 2004).
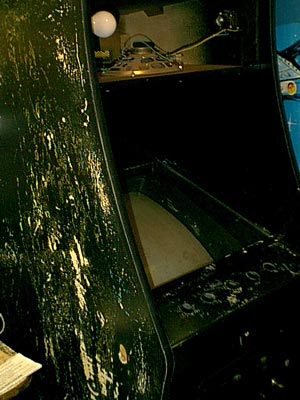
This was one of our biggest projects and took a lot of work to get it into it's current condition. One big thing that helped was it was picked up for FREE. When we received it, it was a horrible jamma game called Cal. 50. While poking around the inside of the cabinet I noticed it originally was a Galaxian. A neat game, but I didn't really want to restore a Galaxian.
Galaxian cabinets are close in size and shape to the Pac-Man cabinets so we decided to make it a Pac-Man. Then my wife said she also liked Ms. Pac-Man so we decided to make it a Multi-Pac.
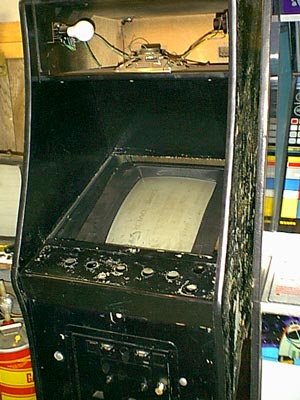 The sides came to me with some funky formica on them. So far I've just striped it off and am waiting for some warmer weather before I stripe, sand, fill, sand, smooth, prime, and repaint the cabinet.
The monitor I'm using was also picked up for FREE and is from an old Pole Position game. It was my first Electrohome G-07 and was easy to work on. It has significant burn-in, but with a layer of smoked plexi, you'll never know the difference.
UPDATE: 3-6-99
The first big hurdle has been cleared. I got the Pac-Man up and running today after I installed the Ms. Pac-Man wiring harness. The conversion over to a switching power supply went as smooth as a babies bottom. The only small problem was in the fuse holder. Some very minor corrosion was eating 4.1V!!! After a pretty good cleaning, the holder was still wasting .5V. That's enough of a drop to make some real funky things happen to your Pac-Man. All the graphics were distorted and all the colors were off. Talk about strange? Anyway, my first game I made it to the 1st Key with 91,000 points. Not bad for being the first time I've played a Pac-Man machine in probably 10 years. (Yes, I do play it on MAME once in a while.)
UPDATE: 3-12-99
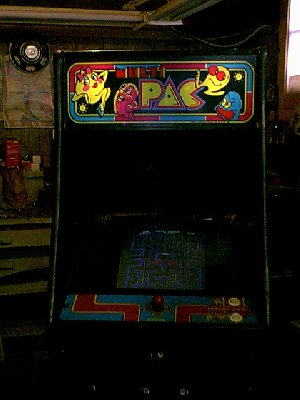
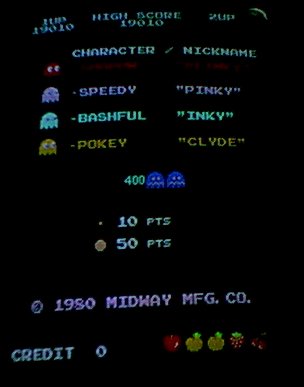
I secured the new wiring harness and switching power supply. Today I basically just secured everything in the cabinet real well and adjusted the monitor and such. Here are some pictures.
UPDATE: 6-27-99
I finally started to stripe the adhesive left by the formica from the sides. I bought the strongest paint striper Home Depot had. Well, in my haste, I didn't read the warnings and used it without gloves. 
Needless to say, after about 15 minutes I had to run into the house and hold my hands under cold running water for about 10 minutes. No serious damage, just a hell of alot of burning, especially around the hangnail area.
Before I had to stop, I got a whole side basically striped. I have to wash down the side a little more to get some residue off and I also have to fill a couple of damaged areas with bondo. I plan on putting some pictures up here soon.
UPDATE: 7-12-99
Here are the pictures...
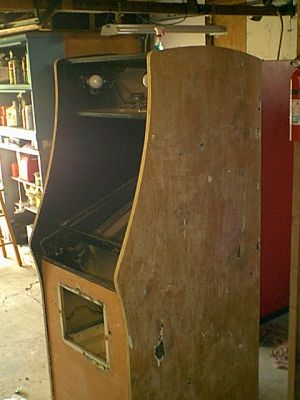 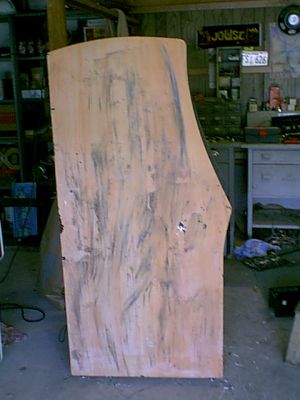 Next comes the sanding and filling.
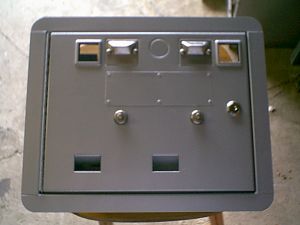 Coin door after a LOT of striping, sanding and repainting.
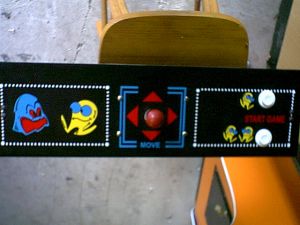 Again, this control panel needed lots of help. Here it is with the reproduced overlay applied.
UPDATE: 8-7-99
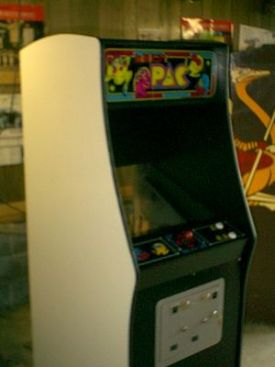 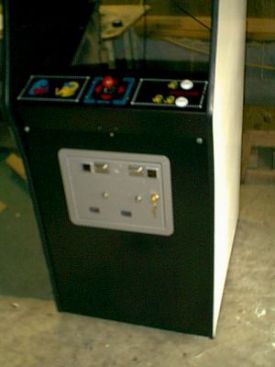 Finally painted and it definitely came out better than I expected.
UPDATE: 8-20-99
Applied the NOS Willis sideart I picked up from Mike Snider a while back... isn't it just perfect for a Multi-Pac? Thanks again Mike!
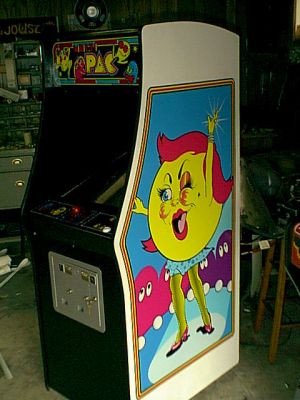 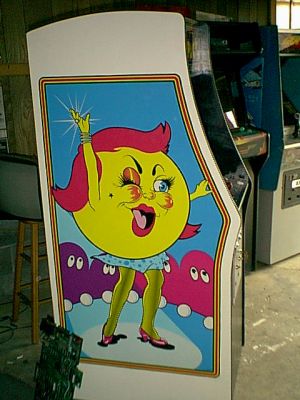 It's funny how something bad almost always follows something good... right after I put the sideart on, the game started resetting back to Clay's Multi-Pac menu... and then Clay's menu started to freeze. Hmmm, strange. After a some long and hard looking, and resoldering most of the chips around the heat sink, I finally noticed that chip 8B has rusted pins. Rusted to the point of breaking when I tried to remove it. I had to order a new one from our local parts place and it should be good as new by Tuesday, 8-24-99.
UPDATE: 9-24-99
Still no luck with the board repairs. I replaced the chip with a socket/chip and the game is still not working. It is definitely a loose connection problem because when I flex the board a little the problem goes away.
UPDATE: 9-27-99
Well, I've now joined the ranks of people that have blown thier Sync Bus Controllers. Looks like I'll be ordering a replacement board from Clay Cowgill...
UPDATE: 12-13-99
I received the replacement board but haven't had time to try it out yet. My wife and I just closed on our new house a couple days ago so spare time isn't really there.
UPDATE: 05-10-2000
Finally got back around to working on the game again. I replaced the socket that held the old Sync Buss Controller and plugged in Clay's replacement. Well... Still no luck. The display seems to show four small screens. The maze does NOT come up, and the game does NOT coin up.
This one has been a big pain in the butt right from the get go. I will not give up!!! 
UPDATE: 05-27-2000
Well... through a minor miracle of God, this game is now working! Wouldn't you know, the whole problem might have been caused by a broken leg on one of the IC's. I know that was part of the problem, but with everything that this PCB has been through, I can't say exactly what I did to fix it. At this point in time, I don't really care. 
UPDATE: 05-29-2000
Well, seems there are still a few gremlins. The board started acting up again yesterday and the problem was poor soldering on my part. I just recently bought a desoldering iron but before that I was using desolering wick. Basically I took a pad off because of too much heat with the wick so I had to do a little creative soldering to fix it.
For those of you with partially- or non-working Pac-Man and Ms. Pac-Man boards, you can't beat the following page for troubleshooting tips:
http://lawnmowerman.rotheblog.com
UPDATE: 04-26-2001
I didn't update the website when the game went back down late last year because I just didn't have it in me to log yet another problem with this thing. As I've said for the past two years... I think this game has it in for me... Unfortunetly I don't think I'm smart enough to give up.
The short of it is that the PCB went dead again AND my backup board died also(died in a different way so I really don't think it's related). I've given up thinking I know how to repair PCBs so I sent it off to the master Pac-Man PCB repairman Matt(aka gamefixer) from M&M Electronics. He's going to fix the two boards and put dual-wipe sockets in all the sockets that the daughter cards and MultiPac kit use. Hopefully this will be the last of the repairs needed for this game for a long, long time.
UPDATE: 05-28-2001
Received the boards back from Matt a couple weeks ago and they both work good as new. If you ever need a Pac-Man pcb repaired I highly recommend Matt... he does great work and has very reasonable prices. Thanks again Matt!
UPDATE: 02-27-2004
Had to replace one of the 2114 RAM chips. Again I used the Mowerman page for tips on what chip to suspect... and as usual, it was dead on.
REPAIRS TO DATE:
(AS OF: 03-26-2009)
- removed ALL Cal. 50 remnants.
- replaced defective monitor with G-07
- traded Atari 2600/Intellivision stuff for a working Pac-Man board
- converted Pac-Man board to work with switching power supply
- bought "the best" Multi-Pac kit from Clay Cowgill.
- bought a Multi-Pac marquee from Clay Cowgill. (Repro was available at ArcadeShop.com)
- installed Ms. Pac-Man wiring harness and converted it for use with a switching power supply.
- installed Ms. Pac-Man control panel with joystick.
- bought Willis sideart.
- applied repro'd Pac-Man overlay. (Now available at ArcadeShop.com)
- replaced both fuse holders.
- striped and repainted coin door.
- prime and paint cabinet.
- installed *NEW* black T-molding.
- ordered *NEW* monitor from Steven Gregory.
- installed *NEW* monitor.
- changed from new monitor to re-capped monitor. :o(
- replaced switching power supply. (Old one toasted itself)
- applied NOS Willis sideart.
- replace chip 8B with socket and new chip.
- ordered replacement Sync Bus Controller from Clay Cowgill.
- noticed bent leg at 8C, corrected.
- repaired poor soldering at 6D (Sync Bus Controller socket).
- added/replaced sockets to 1H, 4F, 8C.
- installed repair kit to VSync Controller.
- sent board out for repairs(finally smartened up).
- replaced 4P 2114 RAM.
- bought new PCB since sound went out again and edge connector was bad
To be done:
Site maintained by: Jeff
Last update: 02-18-2010
|


