


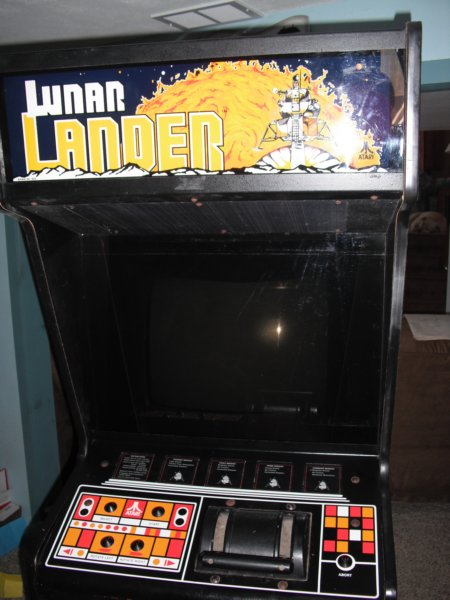
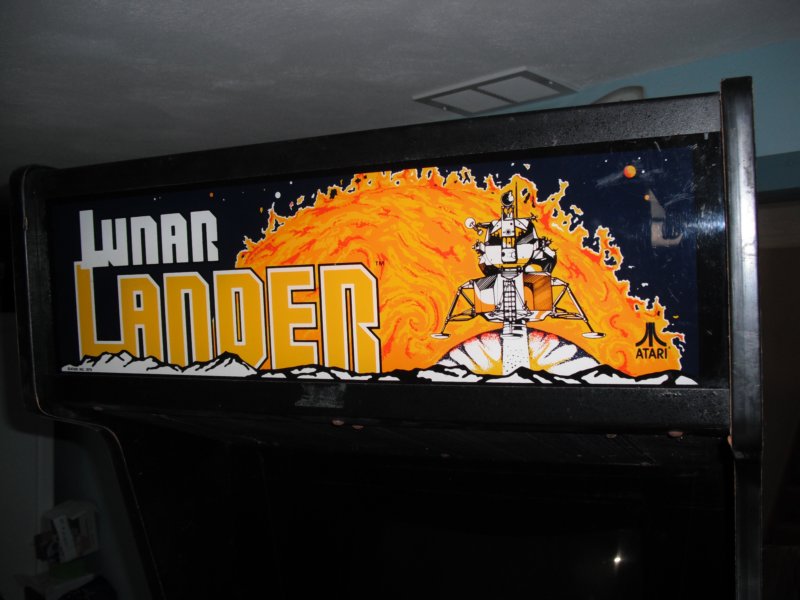
Mr. Tim from Fayetteville, NY delivered this wonderful game this past Sunday(03/17/2013).
It is in really decent condition considering it's age but it was only semi-working when delivered.
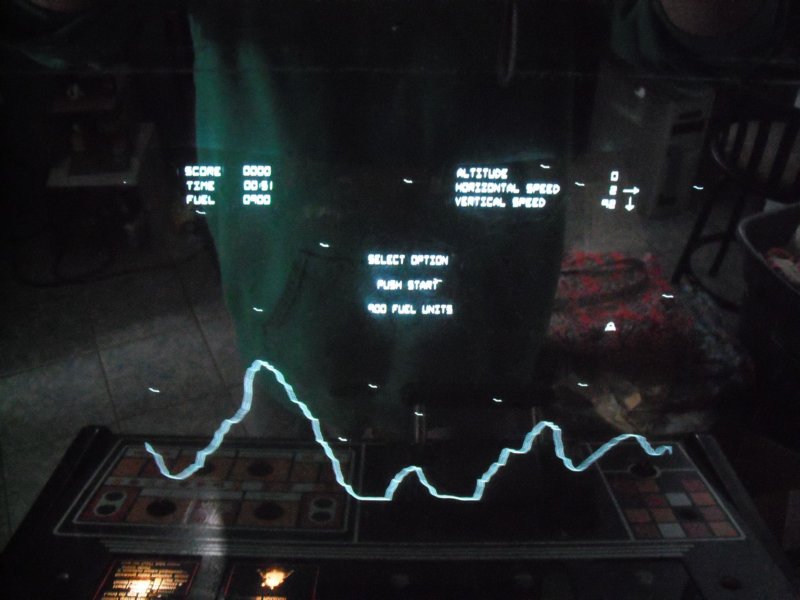
I've been working on the game this week and after a little bit of luck I narrowed the graphical problem down to the 74LS191 at D9. There was also a throttle issue and that was traced down to another 74LS191 at D10.
There are still a few things to take care of but I'm in no hurry. I'll be sure to update this page whenever I work the game, but for now I'll just play!
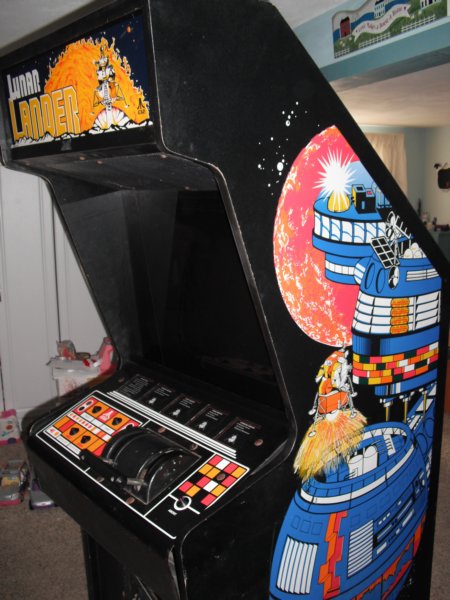
Click HERE for some more pictures.
Looking closer at that circuit I noticed the voltage coming from the 5k variable resistor in the thruster was jumpy. I replaced the VR and I'm hoping that will take care of the 74LS191 chips at P9 and P10 blowing. All I can do now is play and keep an eye on them.

Basically I cleaned everything up real nice, replaced all the capacitors and most of the variable resistors, and then fixed a couple of ugly previous fixes.
Oh, and I also modified a spare G05-802 HV shield I had here for use with the smaller G05-801 HV cage.
For loads more pictures, click HERE. Enjoy!
(AS OF: 04-21-2013)
- Replaced 74LS191 at D9 (graphical issues)
- Replaced 74LS191 at P10 (thruster issues)
- Replaced 74LS191 at P9 & P10 again (thruster issues)
- Replaced 5k variable resistor for thruster
- Replaced all leg-leveler mounting plates
- Replaced leg-levelers with TITAN-25 nylon levelers
- Rebuilt G05-801 monitor
- Modified G05-802 HV shield for use with the G05-801 HV cage
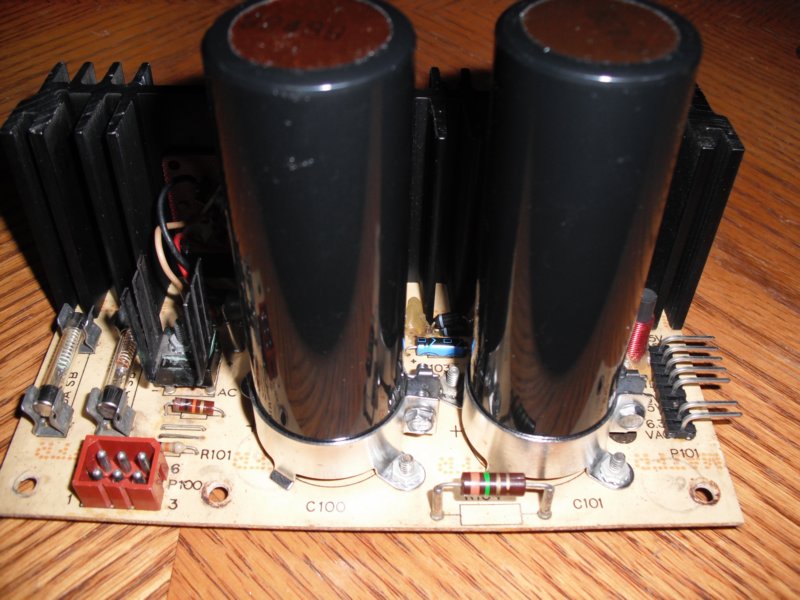
- Install cap-kit on the ARI power supply
- Refurbish coin door
- Fix mission lighting
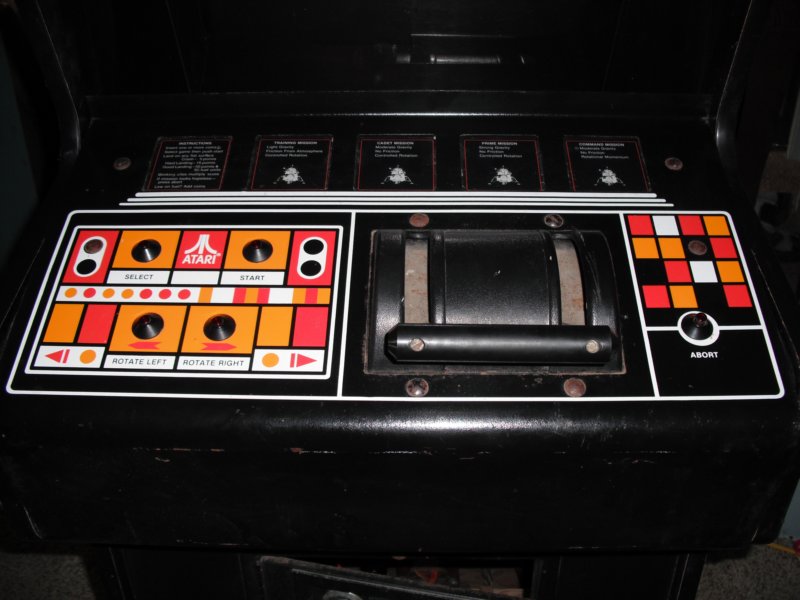
- Fix LEDs on panel
Page Created: 03-24-2013
Last update: 04-29-2013