


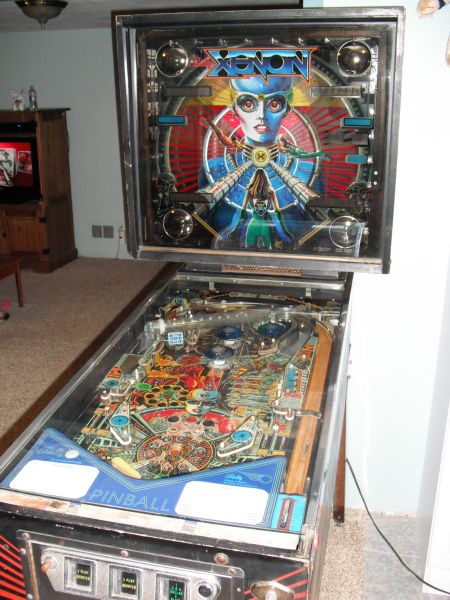
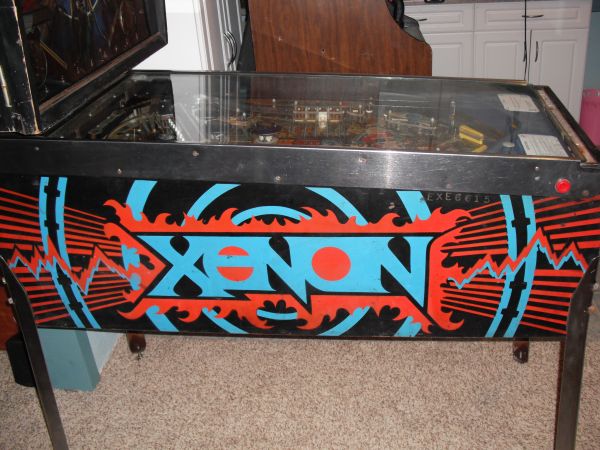
The cabinet itself is in average condition and the lockdown bar is missing.
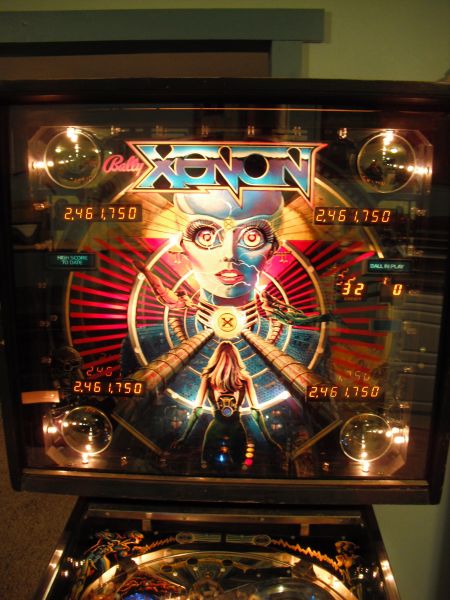
The backglass needed loads of help due to an extreme amount of peeling paint around Xenon's face. Luckily I had the idea of trying something very simple... Scotch tape. After about an hour of piecing together paint I was thrilled with the results.
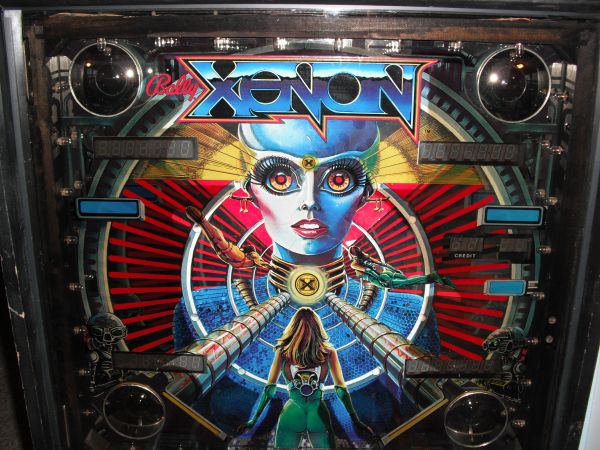
So far, most people think the cracks look like they are supposed to be there since they really do look like a lightening type effect.
Yes, it's now working but there is way, way, WAY more to come here so stay tuned...
After getting the backglass together, I tackled the electronics. Luckily the power supplies and MPU worked fine. The driver boards on the other hand needed some help. The main driver board had a dozen or so bad transistors and the daughter driver board had a couple. Those were pretty easy fixes and I decided to buy a backup main driver board just to have on hand.
Once those were up and running... Xenon still had loads of lights out. I had to fix 40-50 sockets since they lost contact between the base and the mount. Most of those had a solder bridge created but some needed a bit of creative wiring.

With all the lights working, Xenon is just an awesome looking game. They wifey and kiddos will play for hours and I just like sitting there watching.
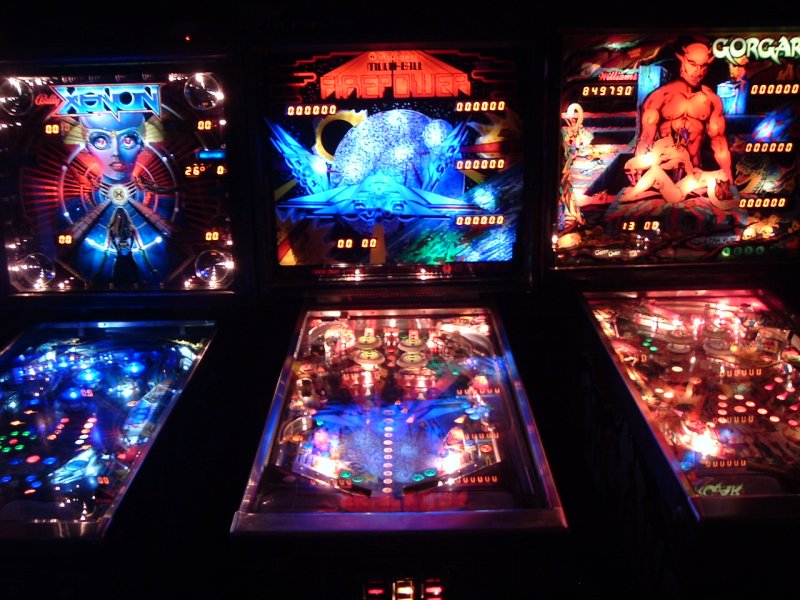
Next up were LED replacements and finding a new backglass. These were both found at the York, PA pinball show so now Xenon has a little make-up on...

Since that picture was taken the infinity lights are also now cool white LEDs and I installed a new tube and LEDs light strip behind the tube. Have I mentioned how awesome we think Xenon looks?
(AS OF: 06-09-2010)
- Removed 2'x2'x2' mouse nest!!!
- Treated inside cabinet with bleach solution(see above)
- Cleaned legs with wire wheel
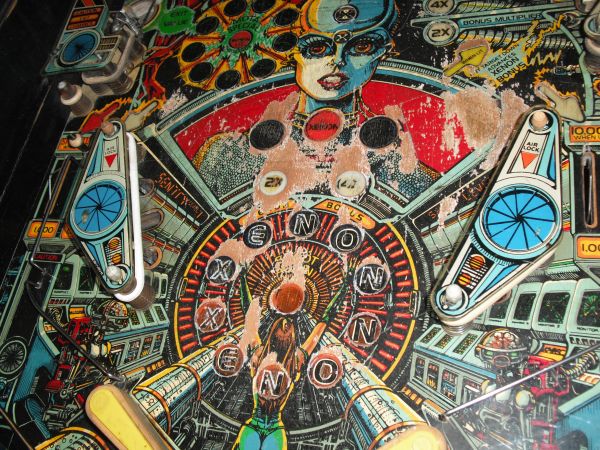
- Cleaned playfield with Novus products
- Cleaned this, cleaned that, CLEANED EVERYTHING!
- Replaced over 100 burned out bulbs
- Re-flowed various pin strips on all PCBs
- Install all new rubbers and bulbs
- Installed better condition backglass
- Installed new tube
- Installed new blue LED strip behind tube
- Repaired ~40-50 light sockets
- Repaired satelite driver board
- Installed 100% "working" driver board(as per eBay auction)
- Repaired said "working" driver board
- Installed 100s of LEDs and she looks awesome!
- Finally found lockdown bar
- Find better condition playfield
Page Created: 06-09-2010
Last Update: 03-30-2011